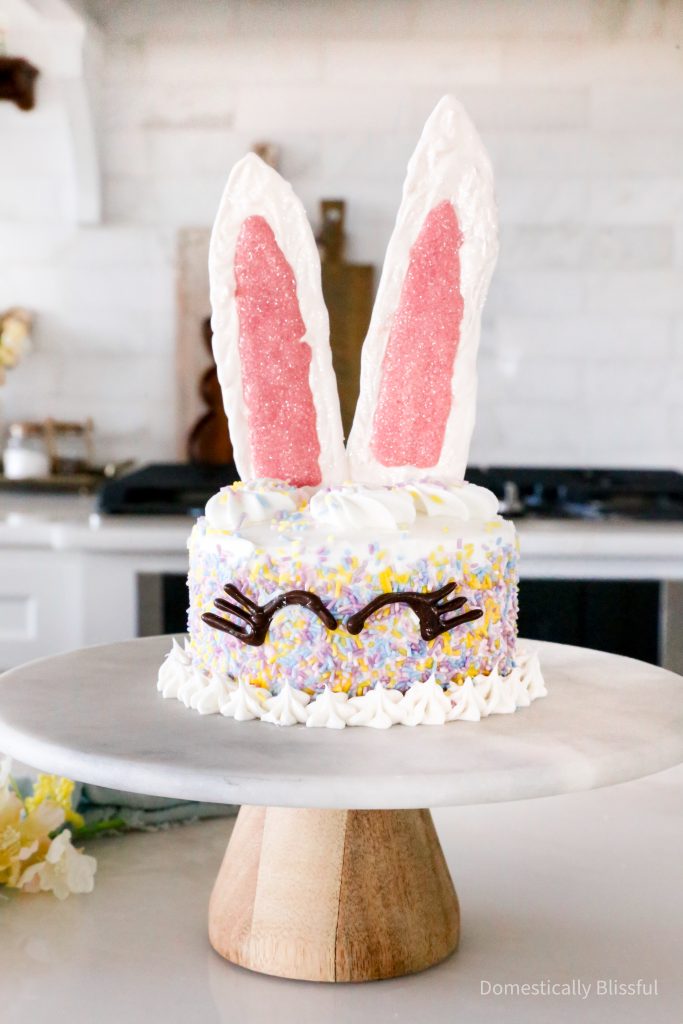
This Bunny Cake is a fun and super-easy way to decorate a homemade or store-bought cake for a spring or Easter party.
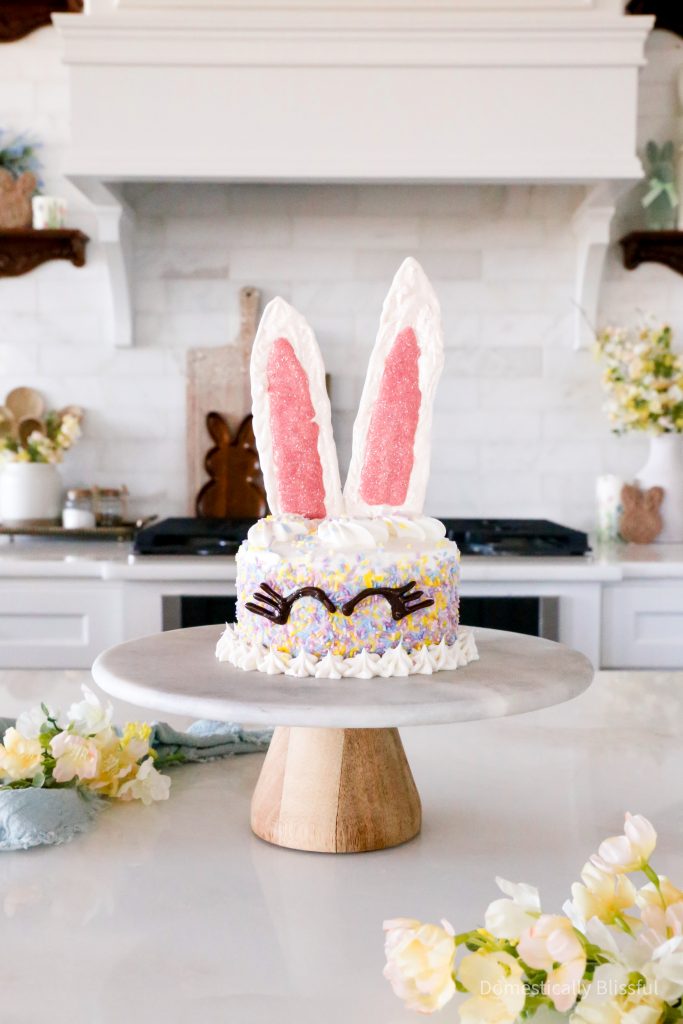
This Bunny Cake is a fun and super-easy way to decorate a homemade or store-bought cake for a spring or Easter party.
I used a premade cake to save time, but you can easily make a homemade one if you prefer.
If you’re hosting a spring party or Easter brunch this season and have lots of homemade recipes planned, but need something quick and easy that you can make ahead for your dessert bar, this could be the perfect addition!
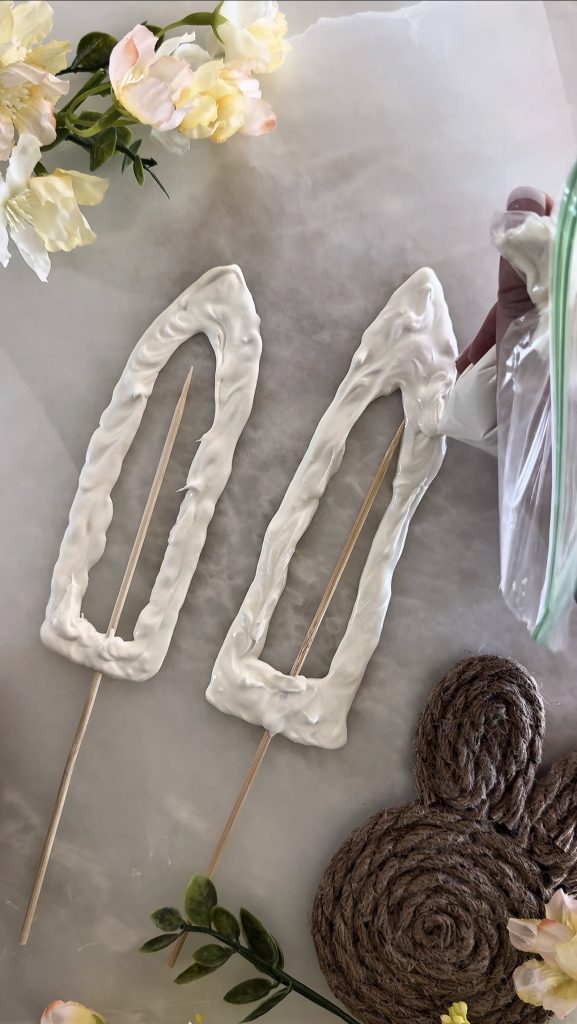
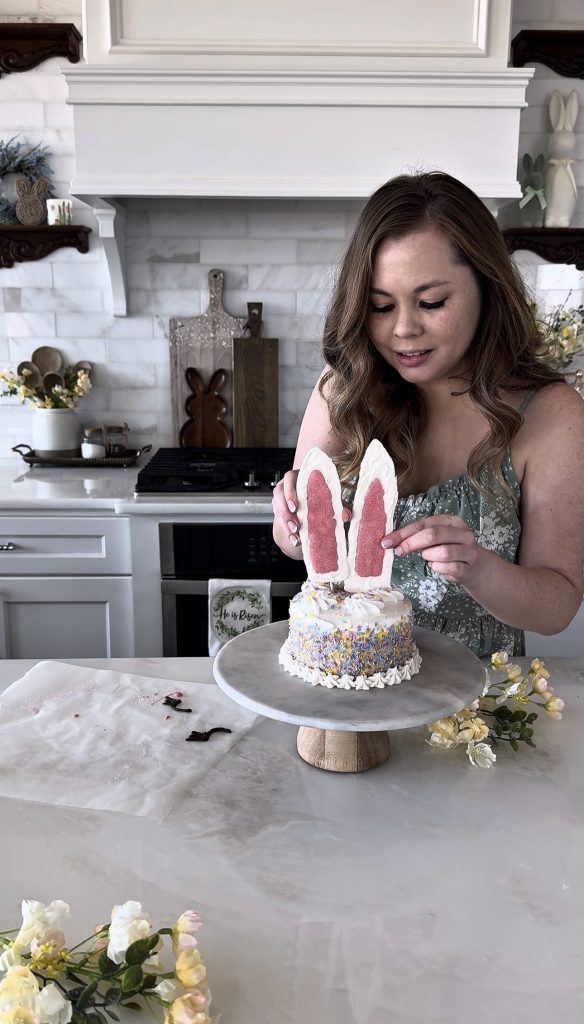
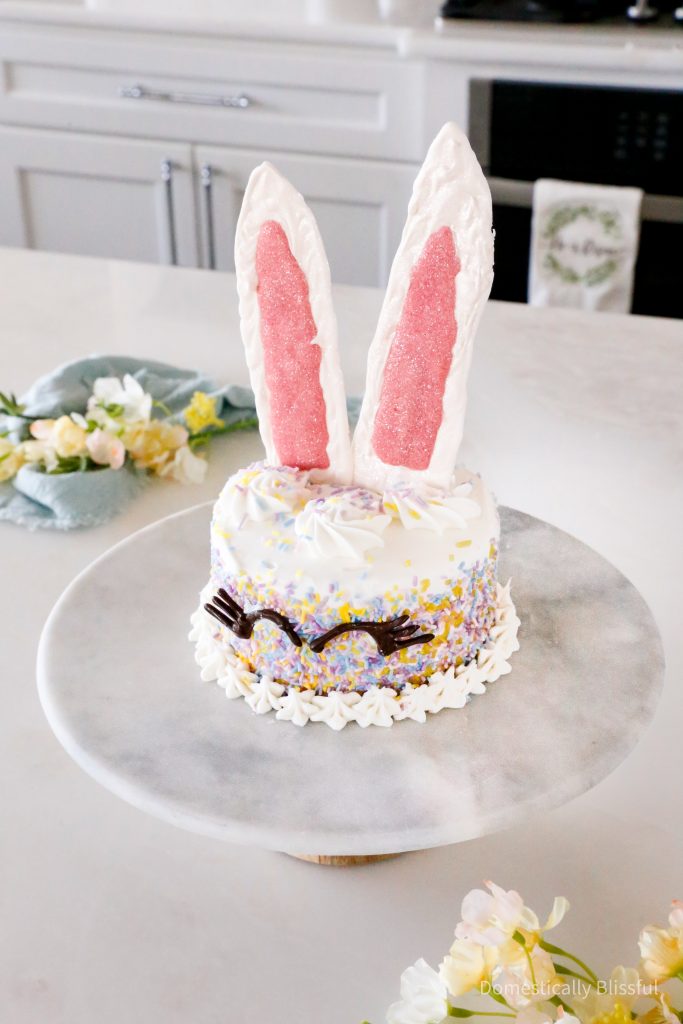
The one thing I would do differently next time is the ears.
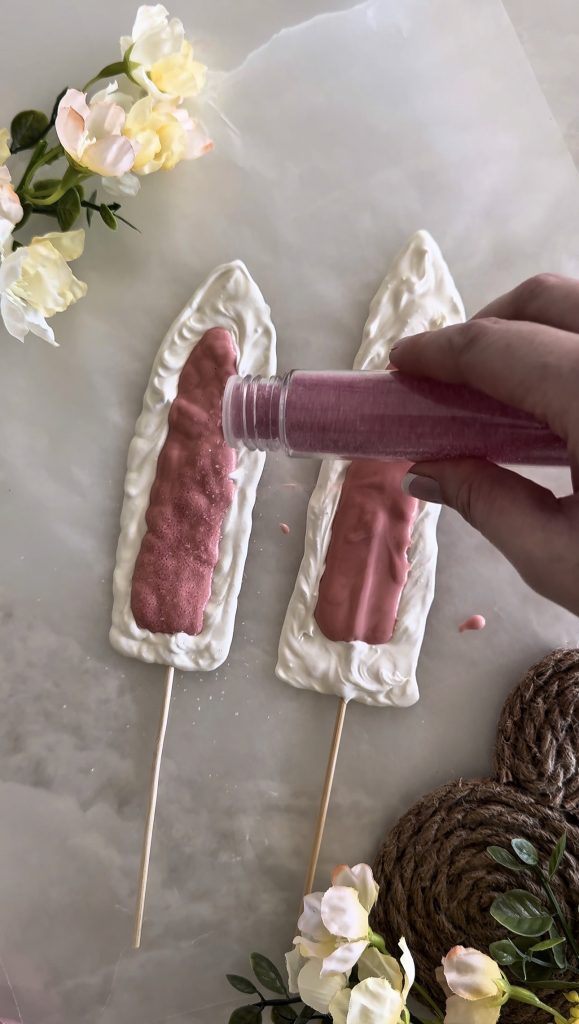
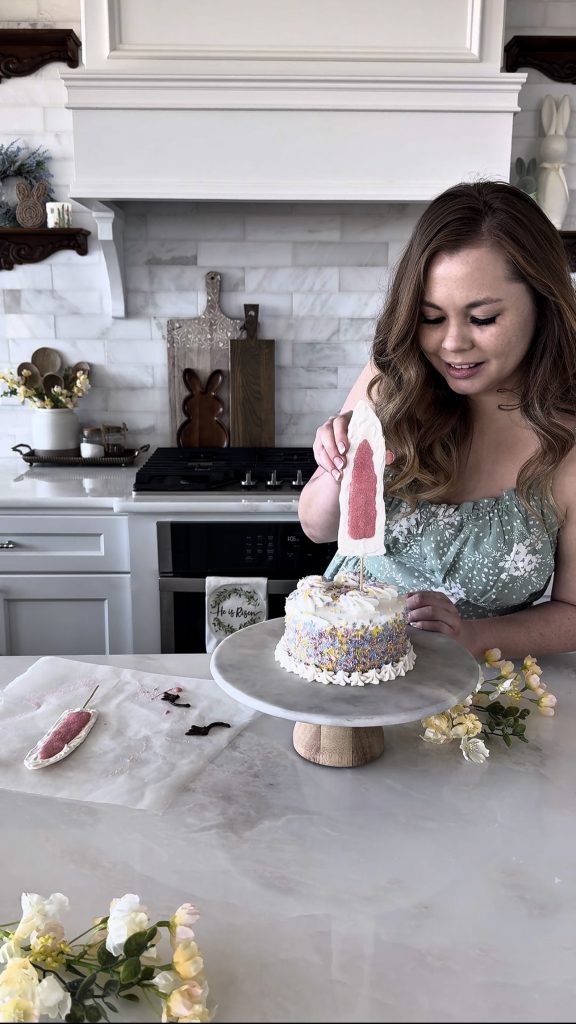
I originally hadn’t planned on doing a bunny tail, which is one of the reasons why I didn’t fill in the ear with white before adding the pink to the center.
So it wasn’t until I added the ears on top that I realized the whole back of the ear should have been white. Whoops!
Oh well! I think it still turned out pretty cute, and I had fun making it, and we all loved eating it!
Click to Shop:

Bunny Cake

This Bunny Cake is a fun and super-easy way to decorate a homemade or store-bought cake for a spring or Easter party.
Ingredients
Instructions
- First, place the candy melts into individual bowls, and add ~1 teaspoon of coconut oil. Melt the white candy melts in the microwave according to the packaging instructions.
- Let cool slightly, then pour the white candy melts into a plastic bag and cut off a small corner.
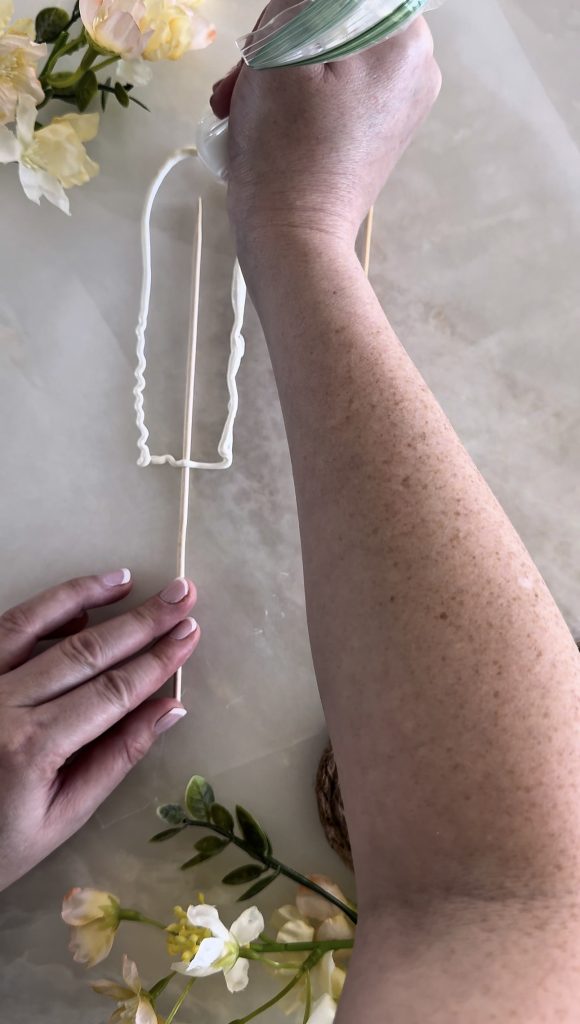
- Place two skewers on a piece of wax paper and draw bunny ears on the top 1/2 – 3/4 of each skewer using melted white candy melts. *(1-2)
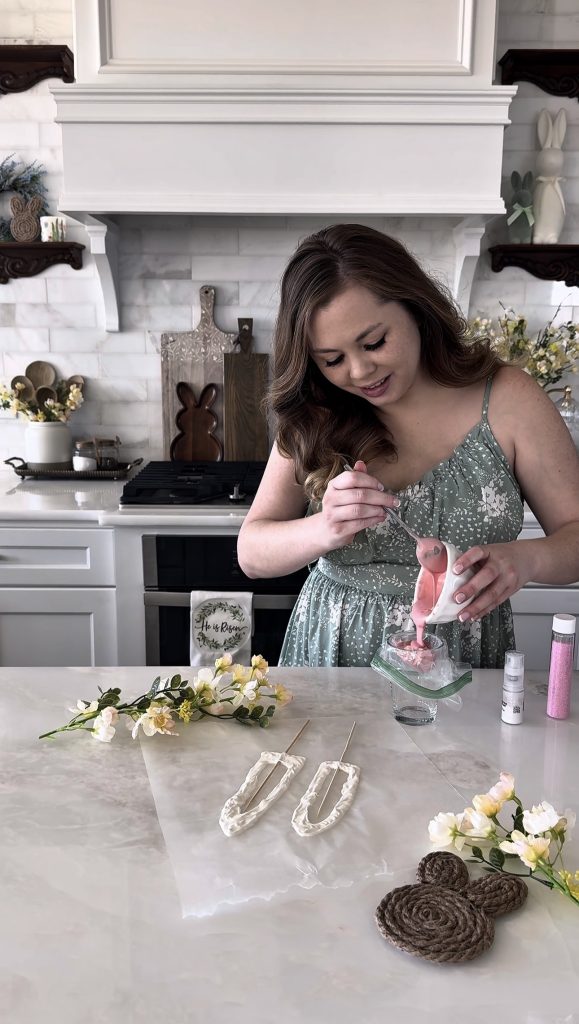
- Melt the pink candy melts in the microwave according to the packaging instructions, then let cool slightly before pouring the candy melts into a plastic bag and cutting off a small corner.
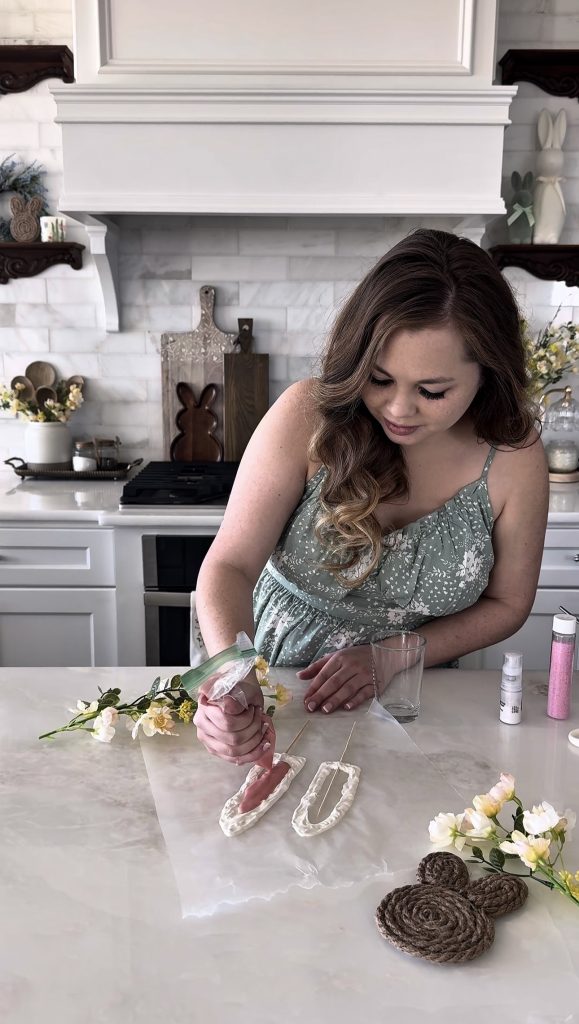
- Drizzle the melted pink candy into the center of the white bunny ears.
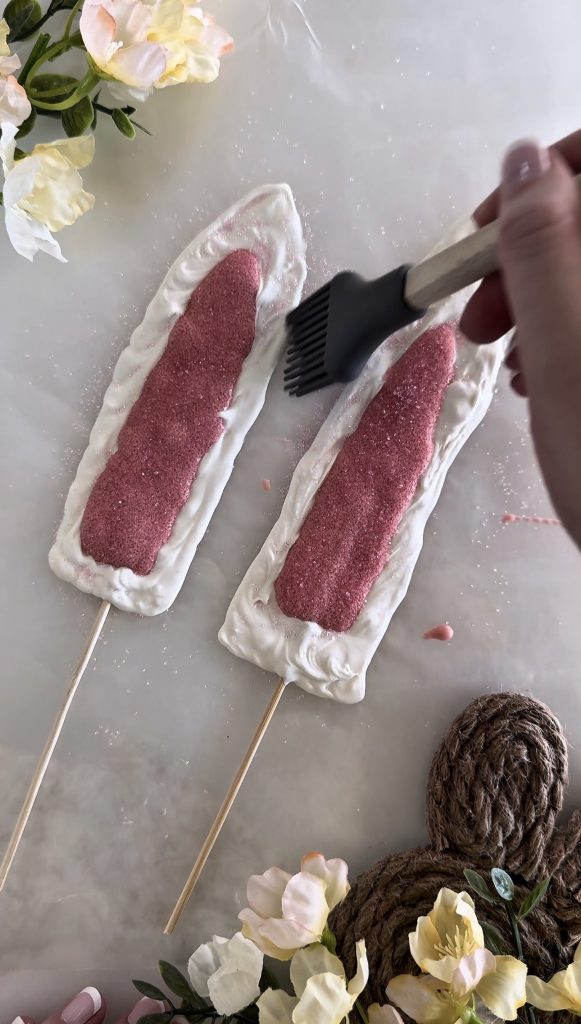
- While the pink candy is still wet, sprinkle pink sanding sugar on top. Once hardened, brush away the excess sugar from the white part of the ears.
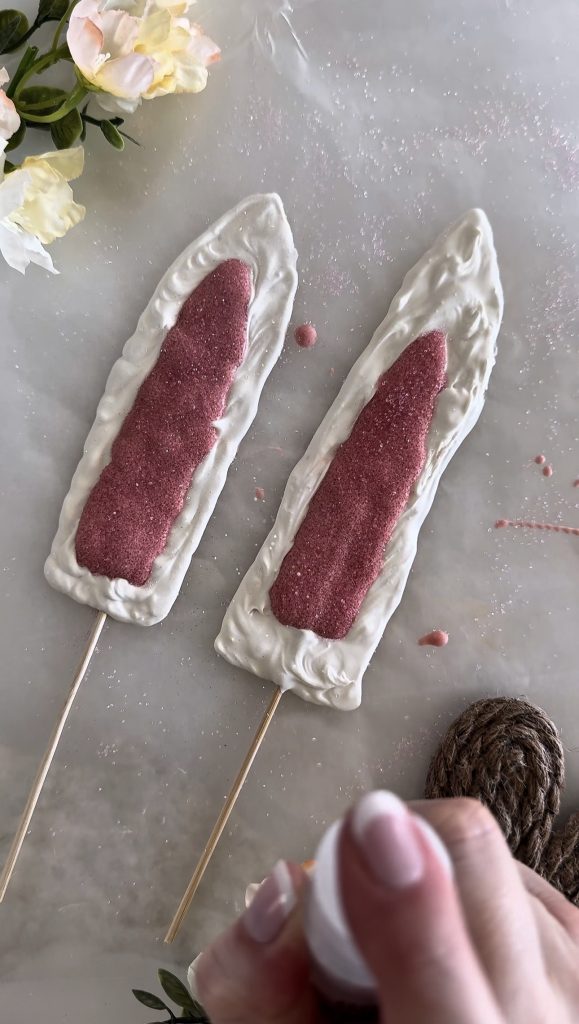
- Then spray the bunny ears with edible glitter spray.
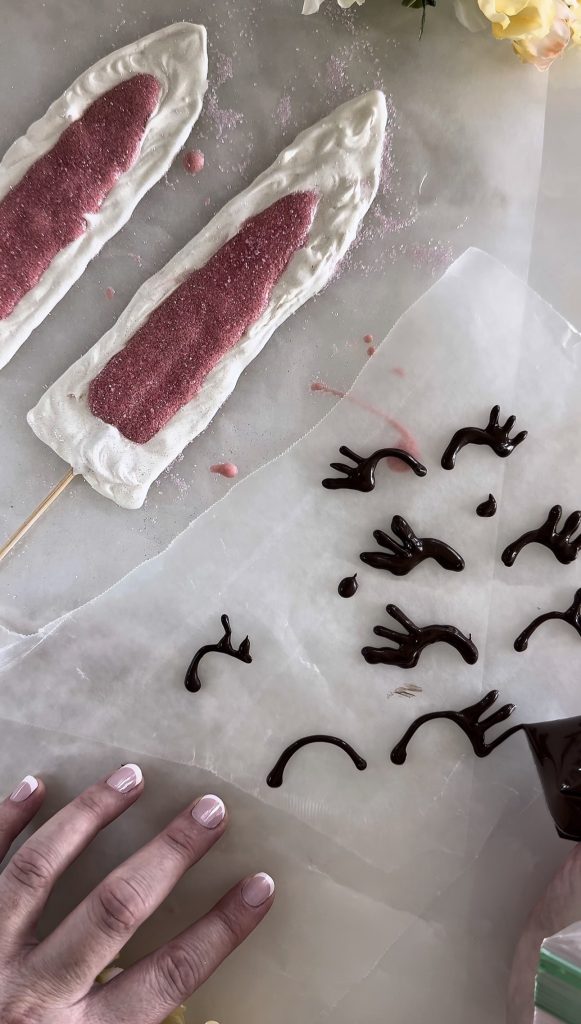
- Next, melt the chocolate according to the packaging instructions. Set aside to cool slightly, then pour the chocolate into a plastic bag and cut off a small corner.
- On a piece of wax paper, draw bunny eyes with the dark chocolate.
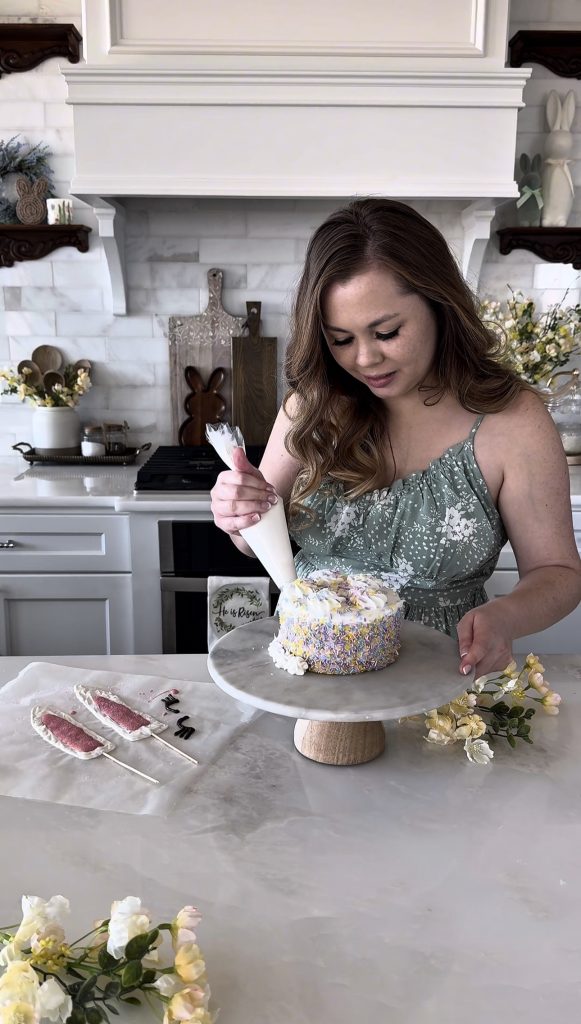
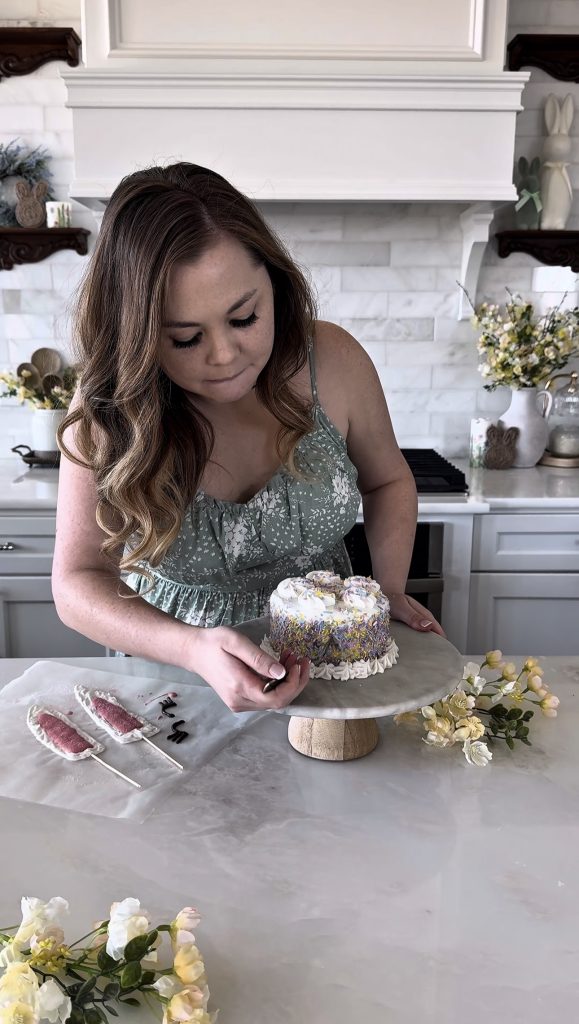
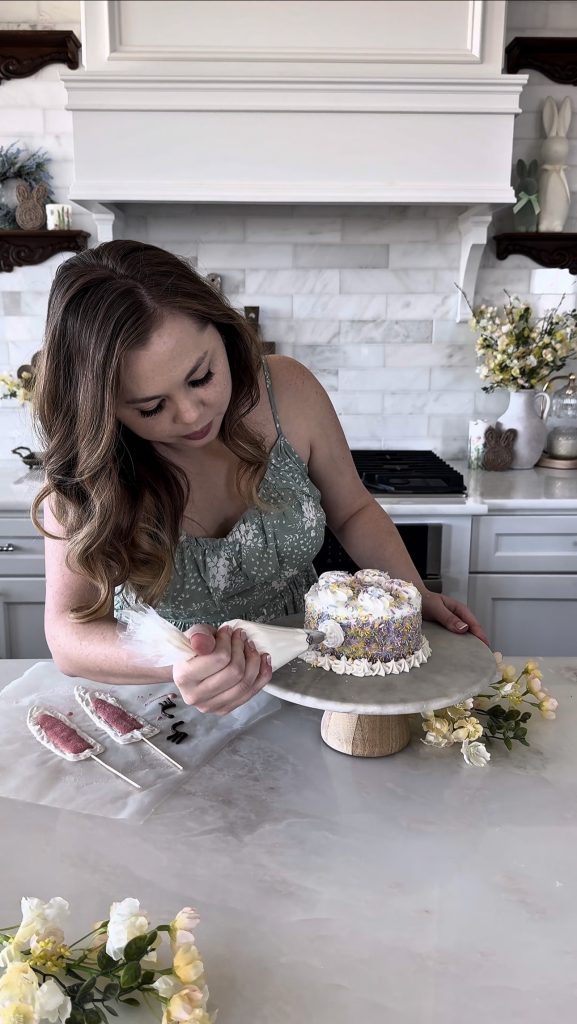
- Place the cake on a cake stand and pipe white frosting around the base.
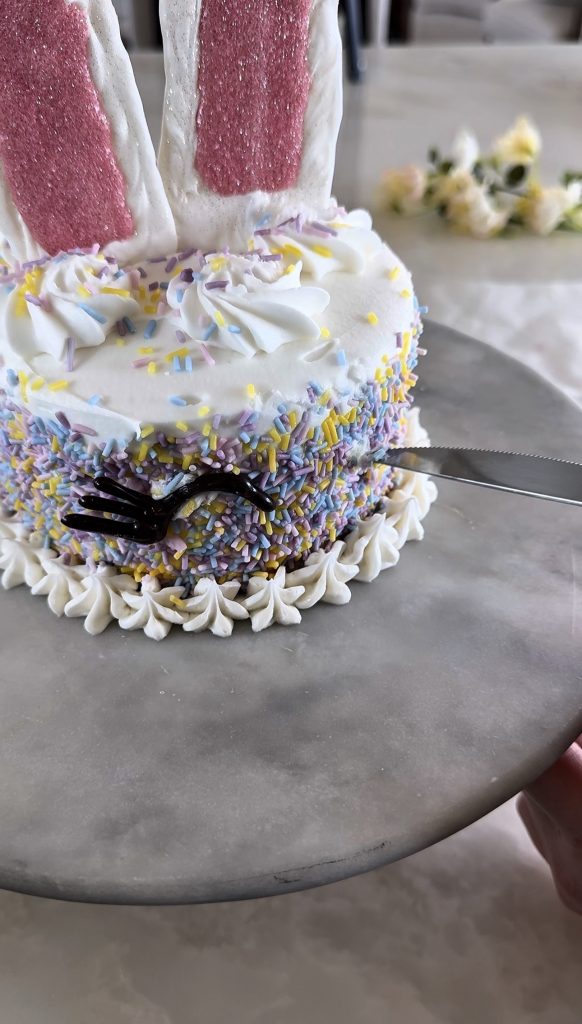
- Use a small spoon to remove some of the sprinkles and frosting from the side of the cake.
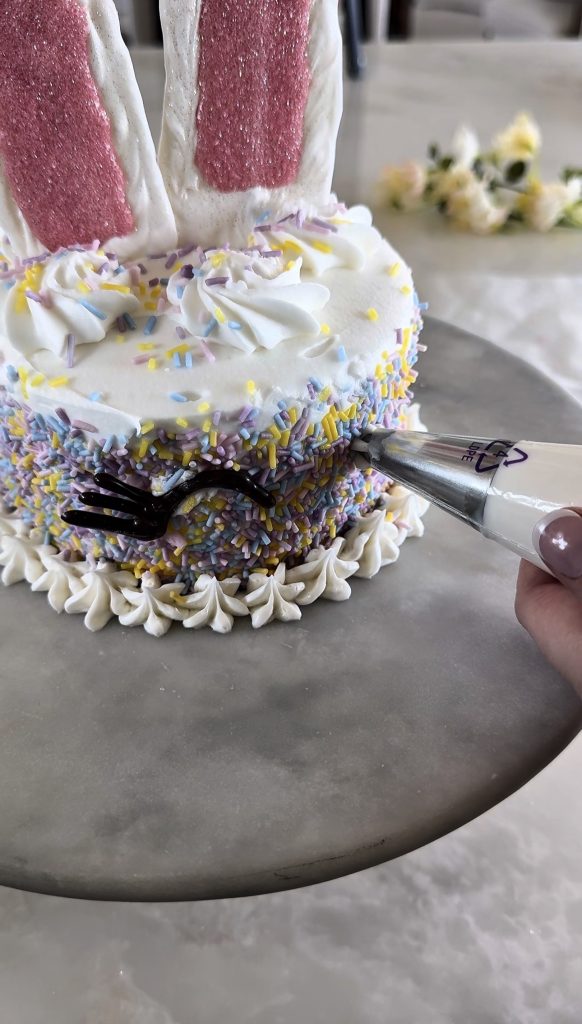
- Then make a swirl of frosting in that same spot to create a bunny tail.
- Place the bunny ears on top of the cake.
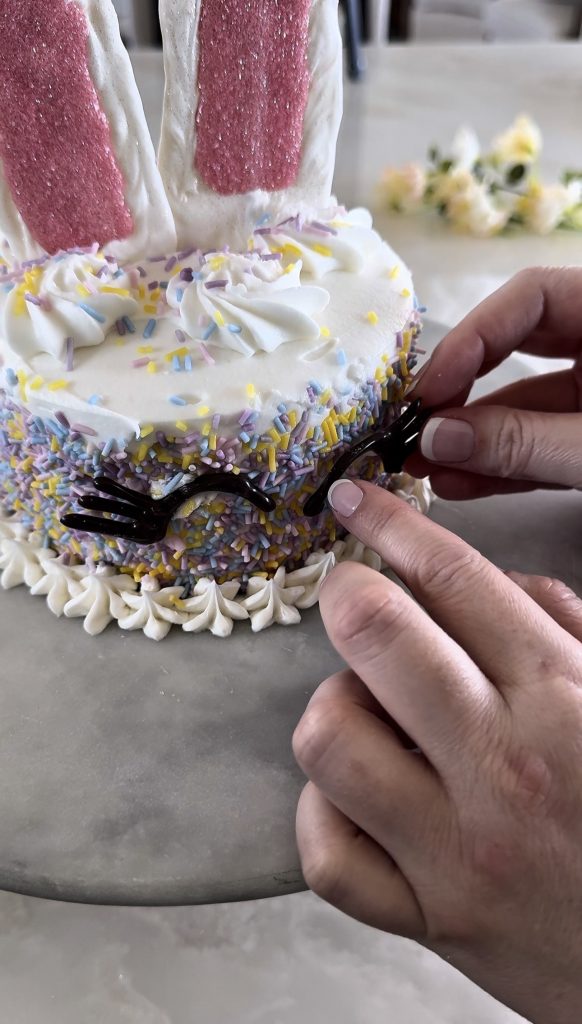
- Use a knife to remove some sprinkles on the front of the cake (opposite of the frosting tail), add a tiny bit of frosting, and place the chocolate eyes on the cake.
- Enjoy your spring bunny cake!
Notes
- You want to leave enough skewer to poke it into the cake without any skewer visible between the cake and the bunny ears. You may need to cut the skewer depending on the height of the cake and length of your bamboo skewers.
- I wasn’t thinking, and realized later that the whole back of the ear should have been white.

If you love cooking, baking, and creating yummy treats, you can find many more recipes by clicking here.
And if you enjoyed this post, be sure to subscribe to my newsletter below so that you don’t miss out on another blissful post!
Want to connect on a more personal level!?
You can find me & Domestically Blissful on
Instagram, TikTok, Facebook, YouTube & Pinterest!
With love, Giusti
Whom have I in heaven but you? And earth has nothing I desire besides you. My flesh and my heart may fail, but God is the strength of my heart and my portion forever.
Psalm 73:25-26 NIV