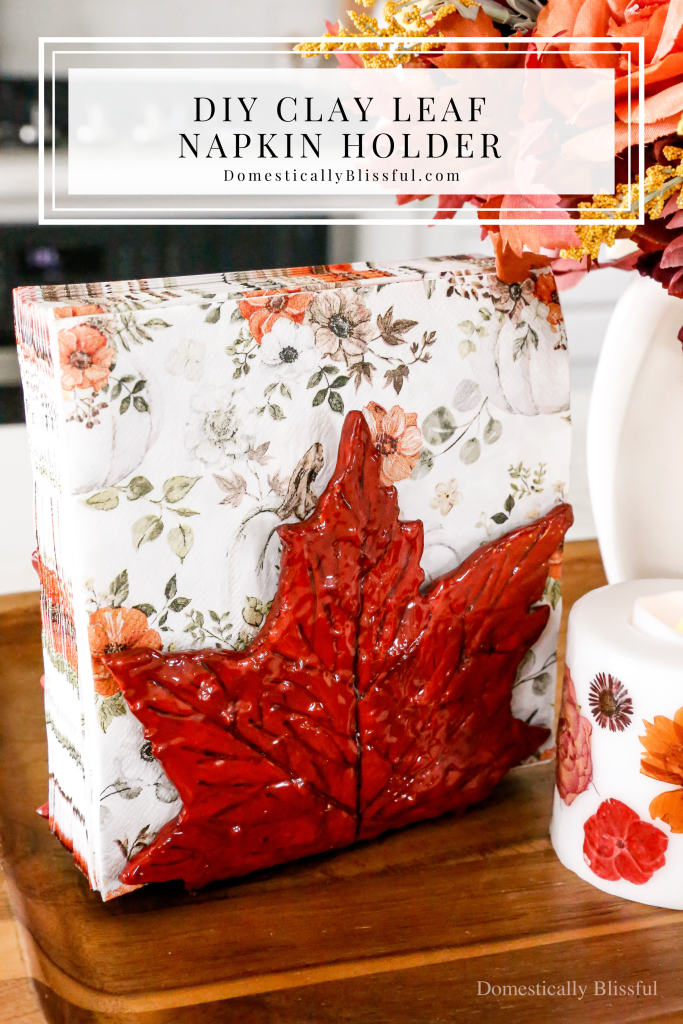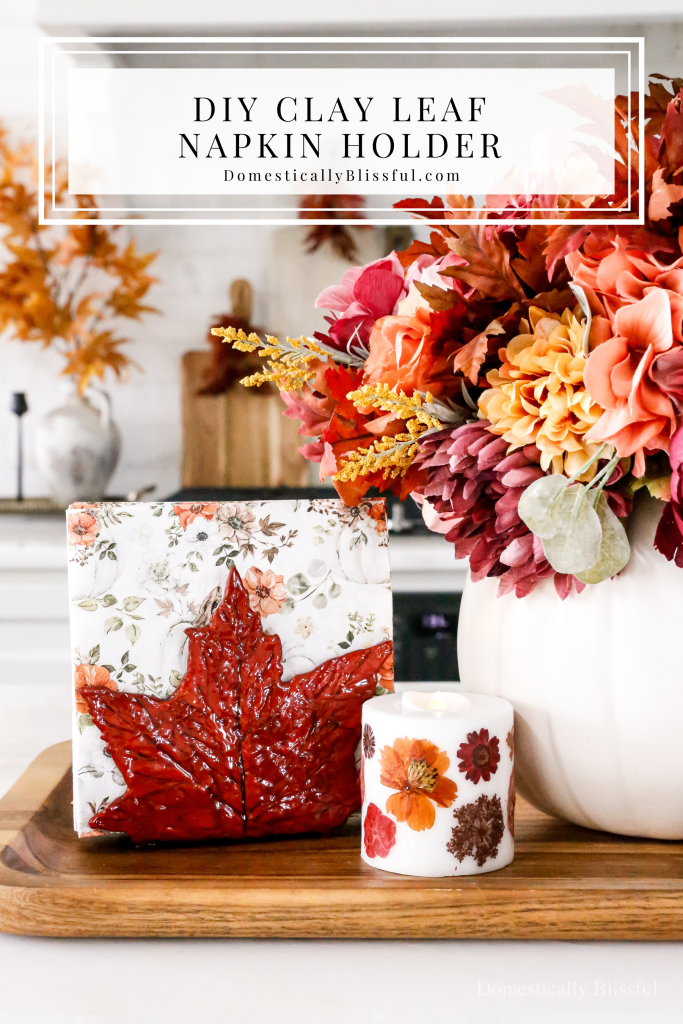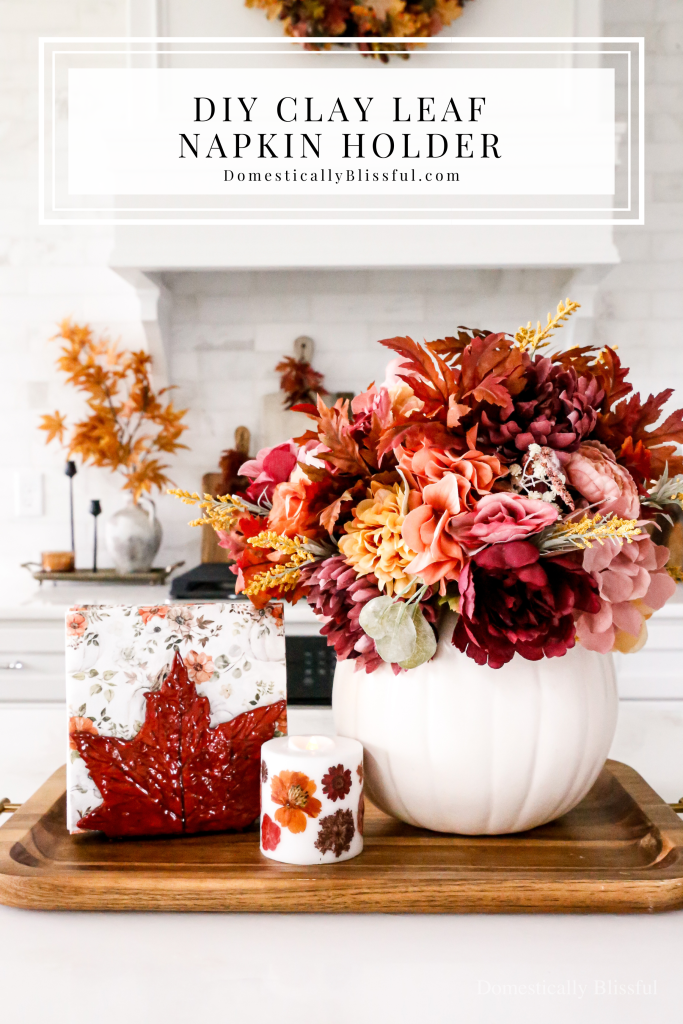
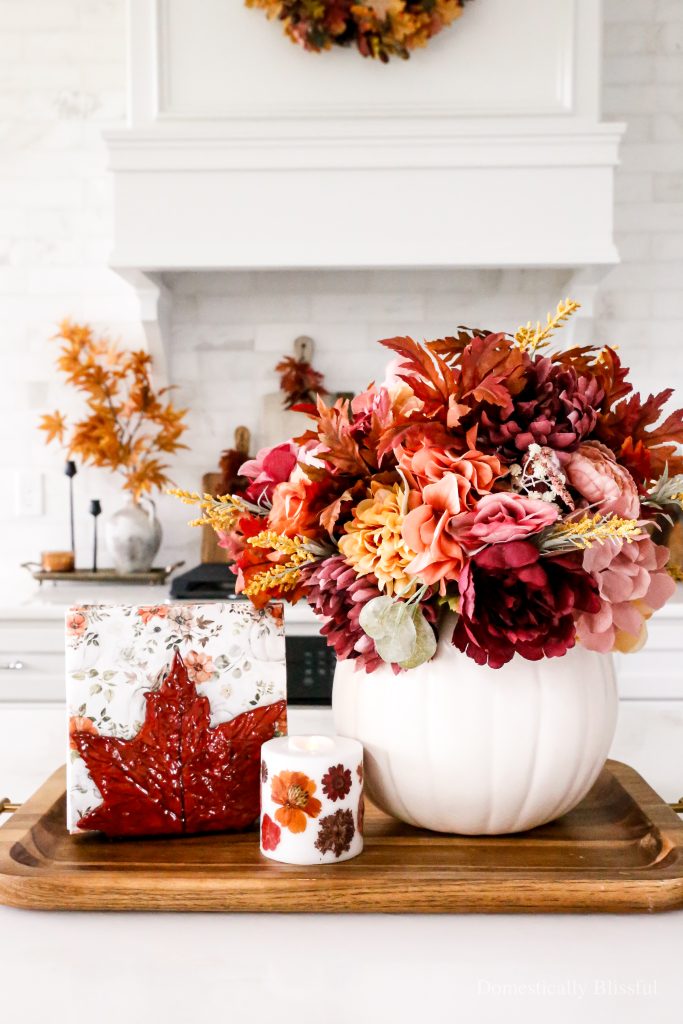
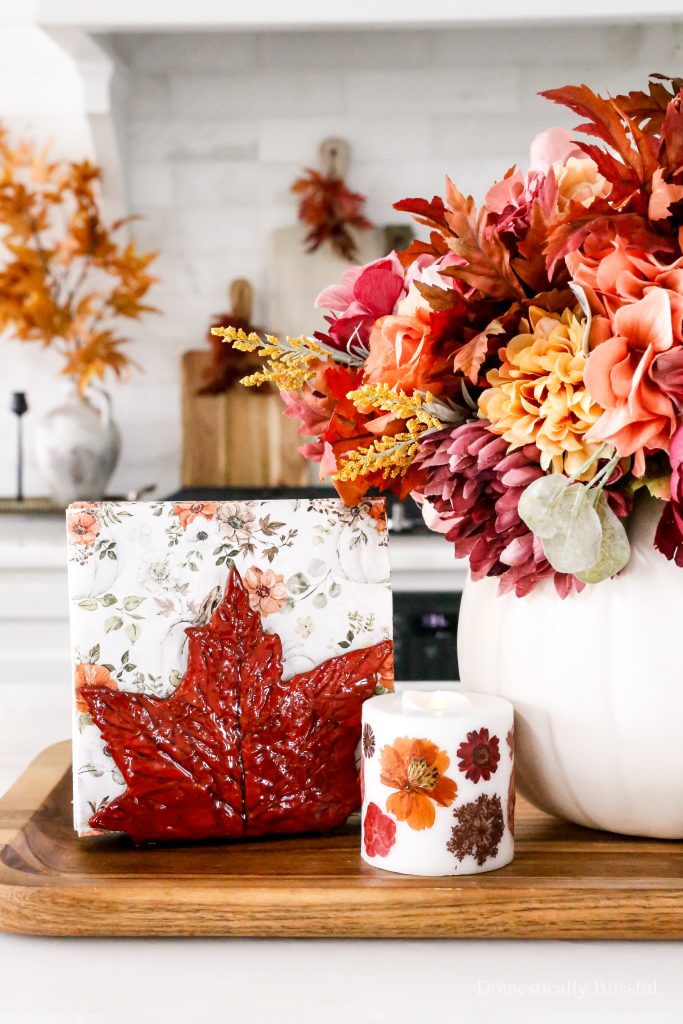
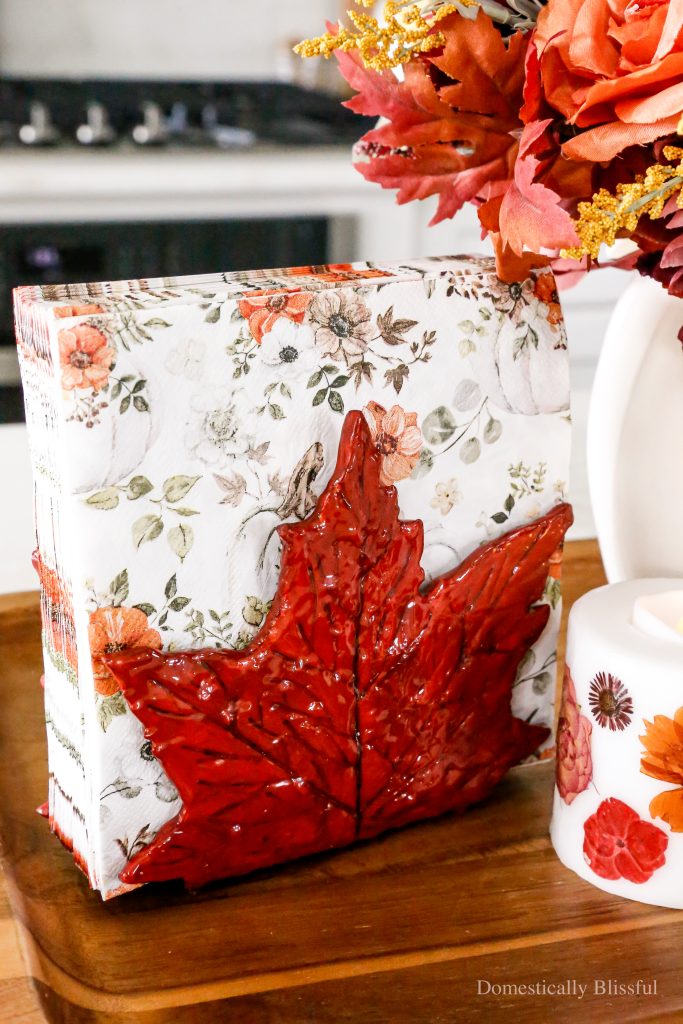
This DIY Clay Leaf Napkin Holder is a fun fall craft that makes a great gift and beautiful autumn decor for your kitchen.
Click to Shop:
Dress (in reel) || Pumpkin Napkins || DIY Pressed Flower Candle || DIY Pumpkin Vase || Fall Kitchen Decor
I’m so excited to share this DIY Clay Leaf Napkin Holder with you!
Last year, I created DIY Clay Leaf Bowls that went super viral, and this year I decided to do a spin-off of them by creating a fall napkin holder for our kitchen.
I saw some really cute leaf napkin holders online and thought, “Hey, I could make that!”
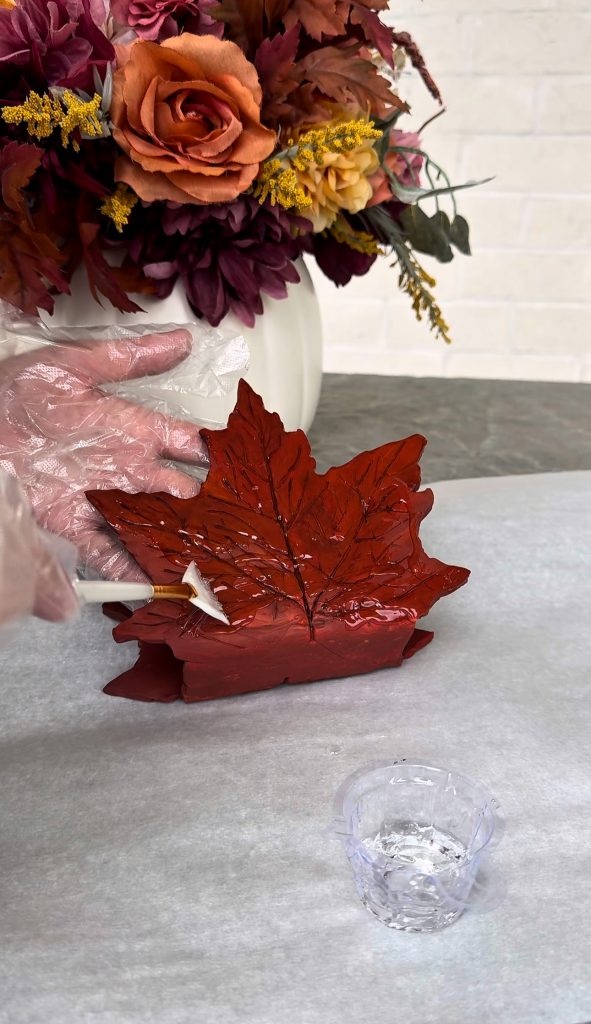
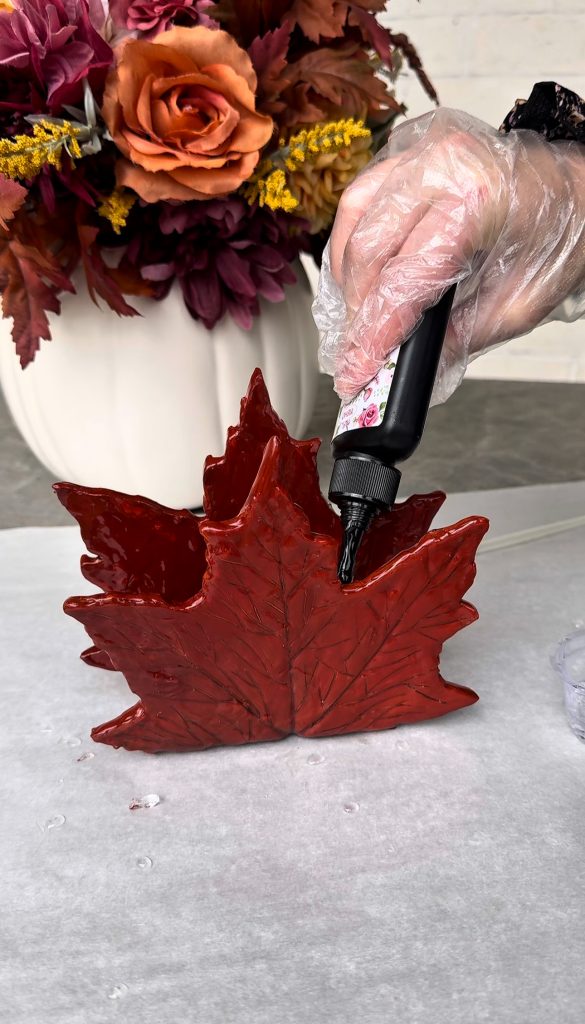
The clay leaf bowls have held up great (minus a little chip when one fell, which I easily fixed with glue), but I wanted to make sure that this fall napkin holder would hold up well with constant use, so I decided to seal it with resin.
And while I have used resin a few times in the past, I’m still learning, and let me tell you, the stuff I used dried so crazy fast!!
Which is great because there is nothing like coming to the end of a project and then having to be patient while something dries.
And I’m absolutely in love with my new diy fall napkin holder, and it turned out even better than I had hoped!
Click to Shop:

Materials (click to shop):
Oven-Bake Clay – also available on Amazon – click HERE, I used 1lb out of 3lbs
Craft Rolling Pin, here is a similar one (any rolling pin not used for food)
Leaves (I used these faux leaves)
Scissors
Craft Cutting Board (any cutting board not used for food)
Craft Knife, similar
Toothpick
Click to Shop:
Instructions:
1. First, roll out the clay to your desired thickness. Mine was ~1/4 of an inch thick.
Note: The thicker it is, the longer it will take to dry.
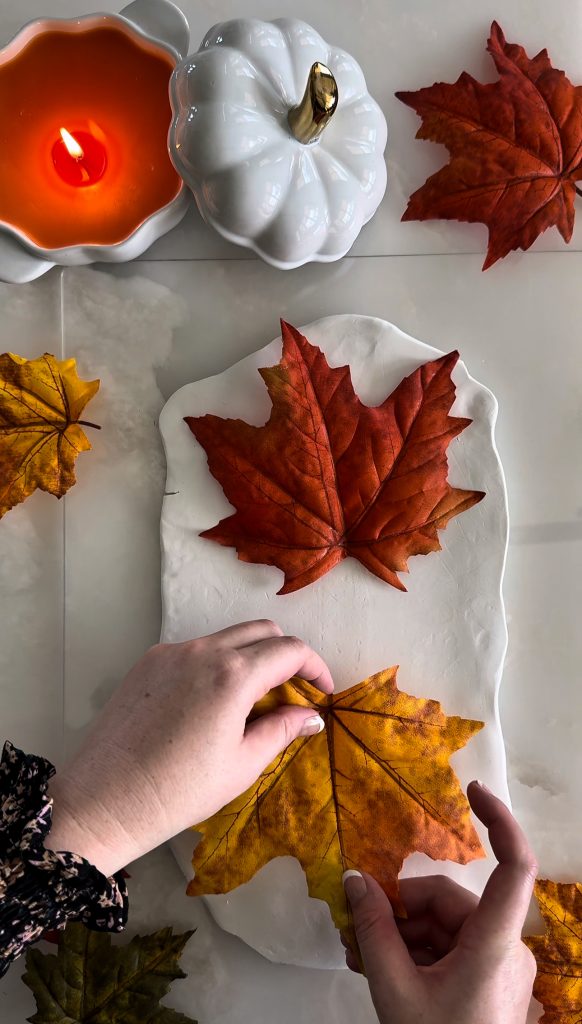
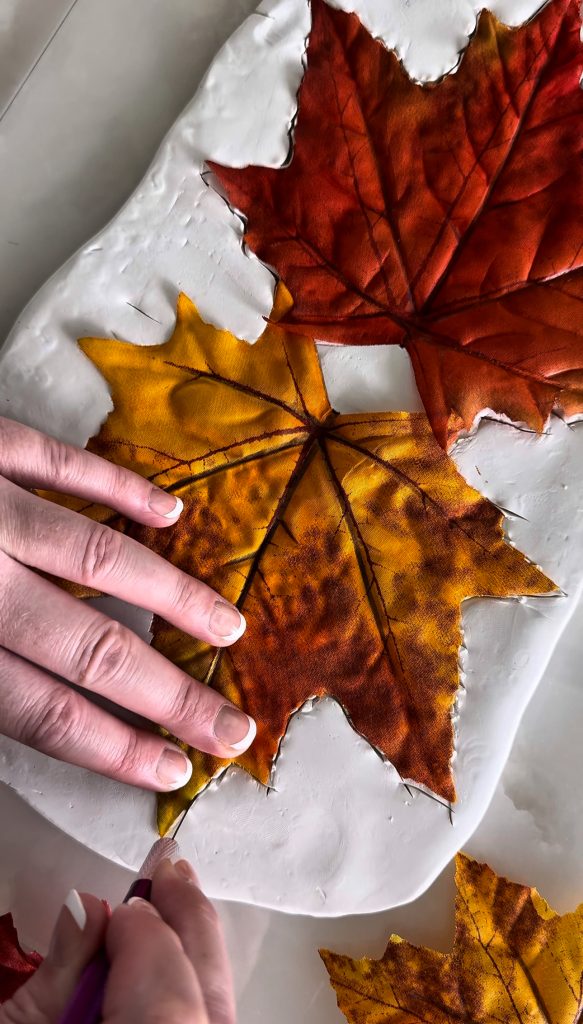
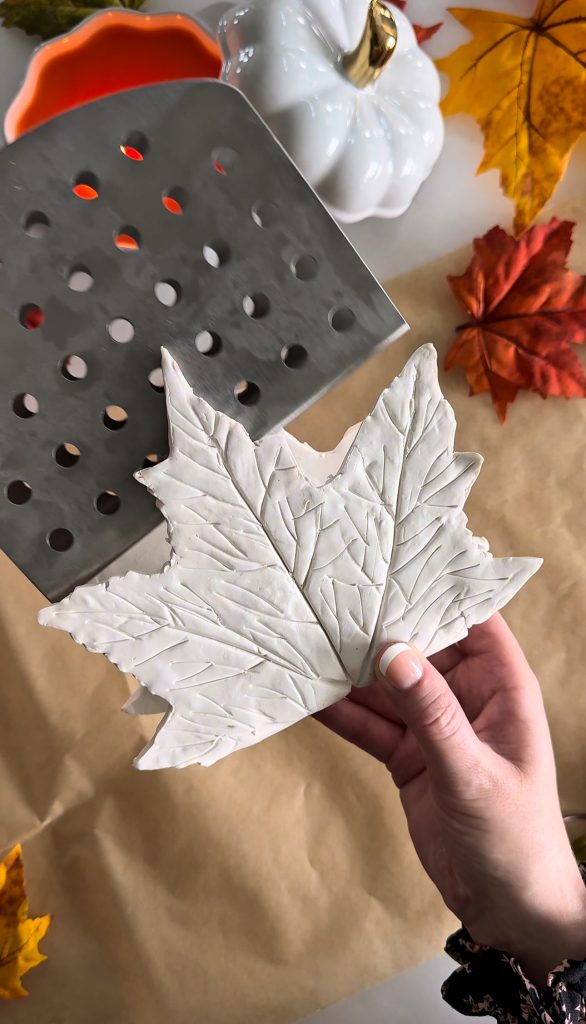
2. Cut off the stems of the leaves and place each leaf on the clay, and place the stainless steel napkin holder in between them to make sure they are equally spaced with room for the base. Set the stainless steel napkin holder to the side.
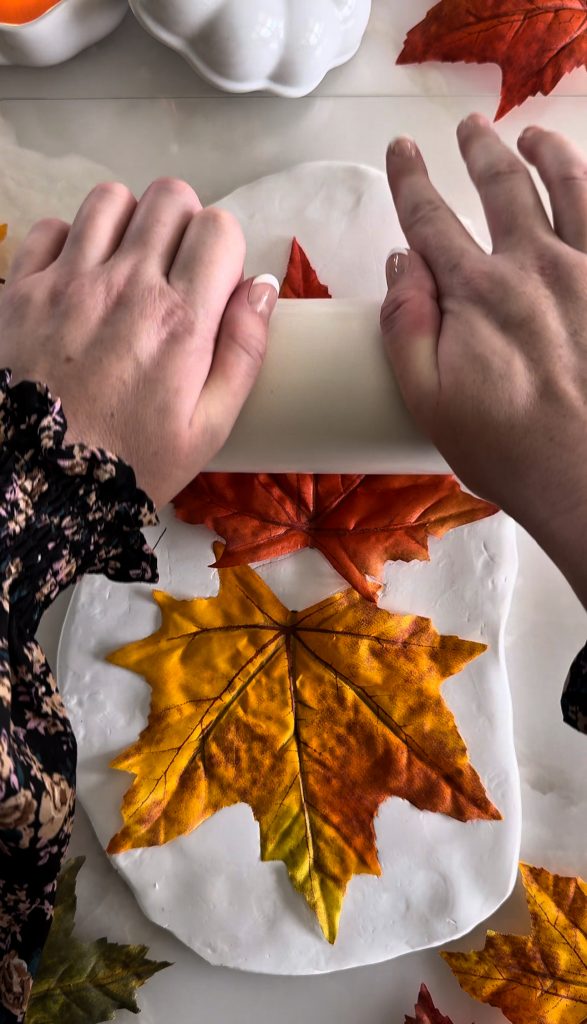
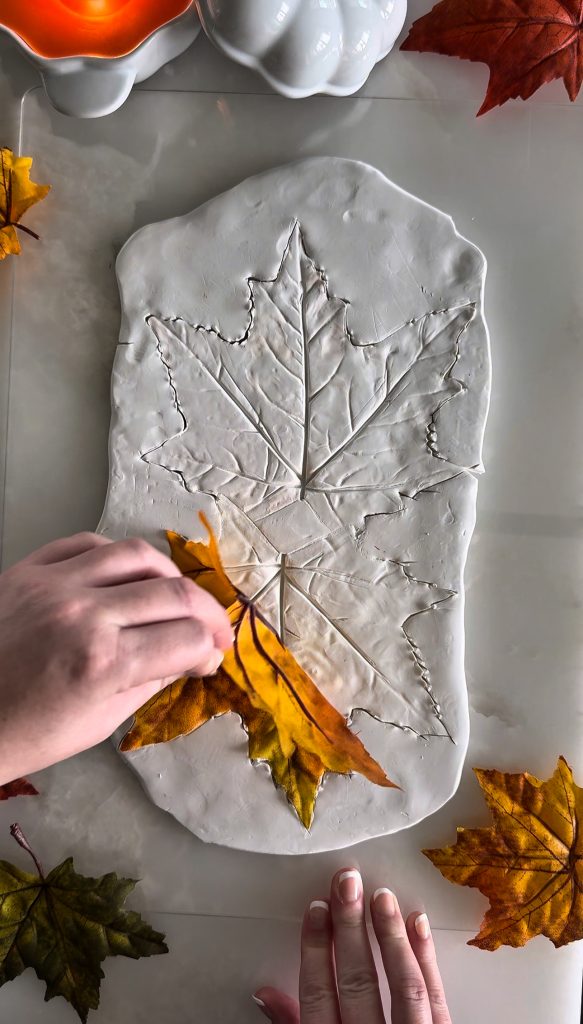
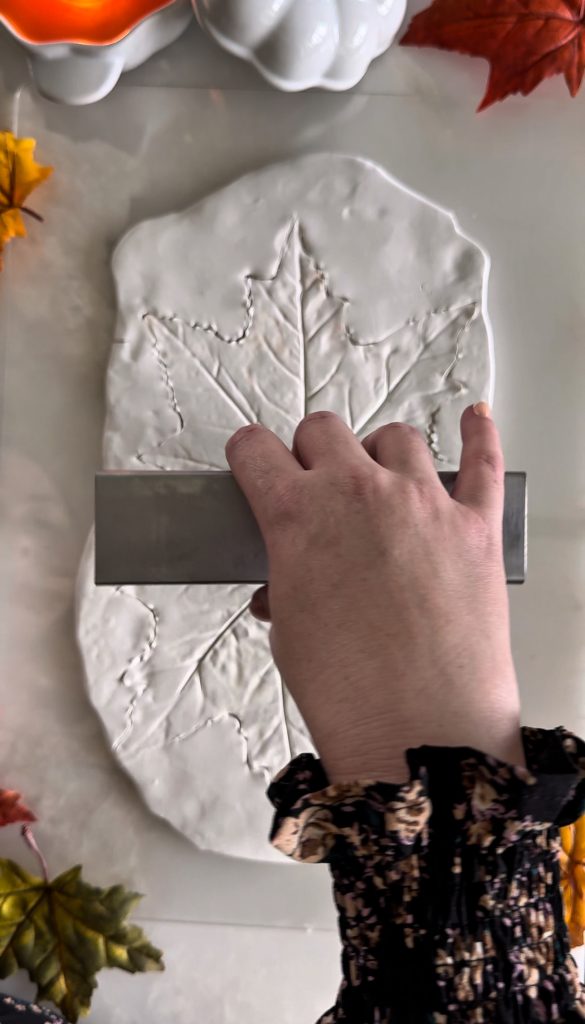
3. Then use a craft rolling pin to firmly press the leaf into the clay.
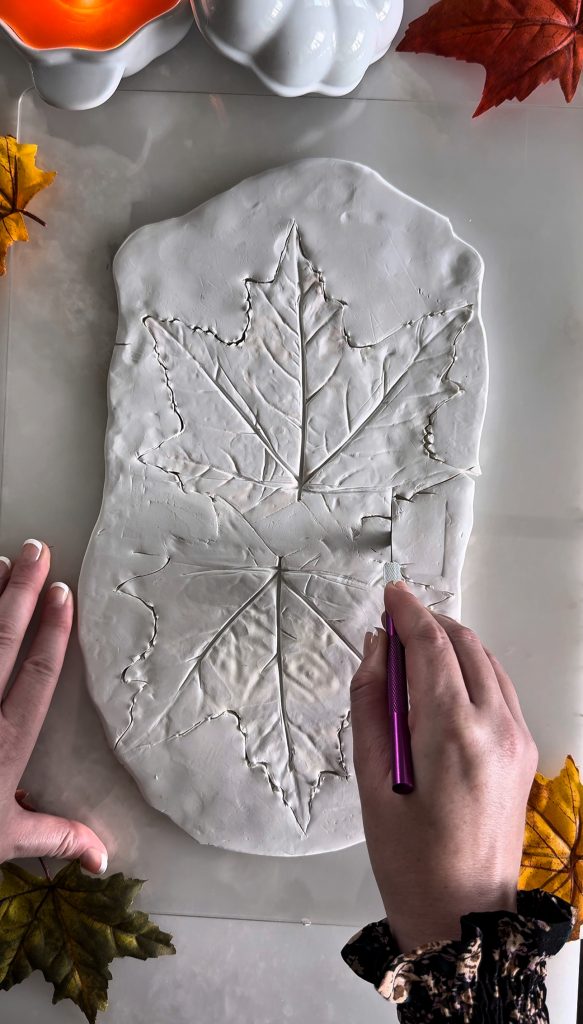
4. With the clay/leaves on a craft cutting board, carefully use a craft knife to cut the shape of the leaf in the clay.
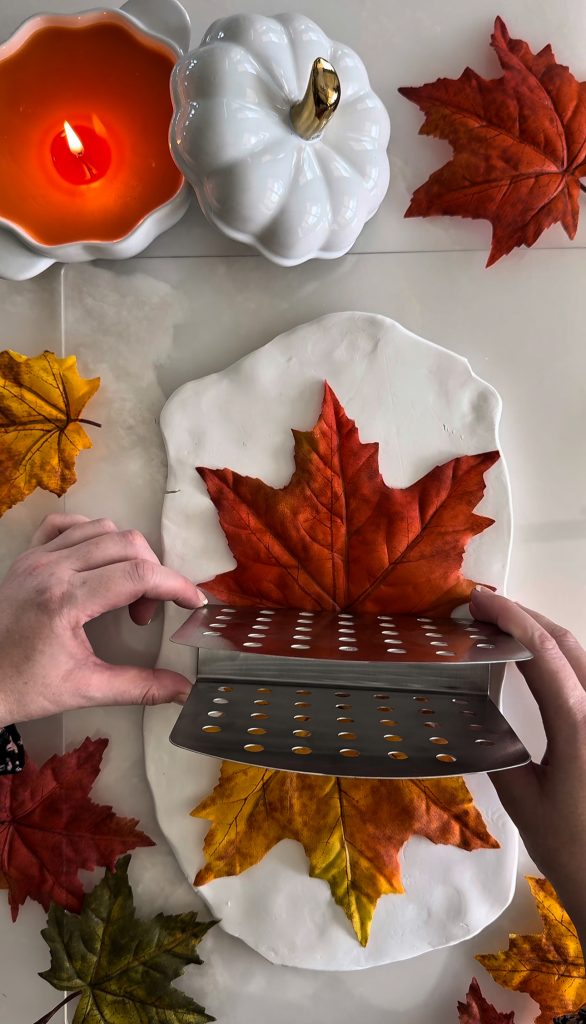
5. Remove the leaves from the clay, and then flip the stainless steel napkin holder upside down and place/gently press it in the center of the clay between the two leaves to make an impression on the clay of the size/width of the base of the napkin holder.
6. Then use a craft knife to cut out the shape of the base in the clay.
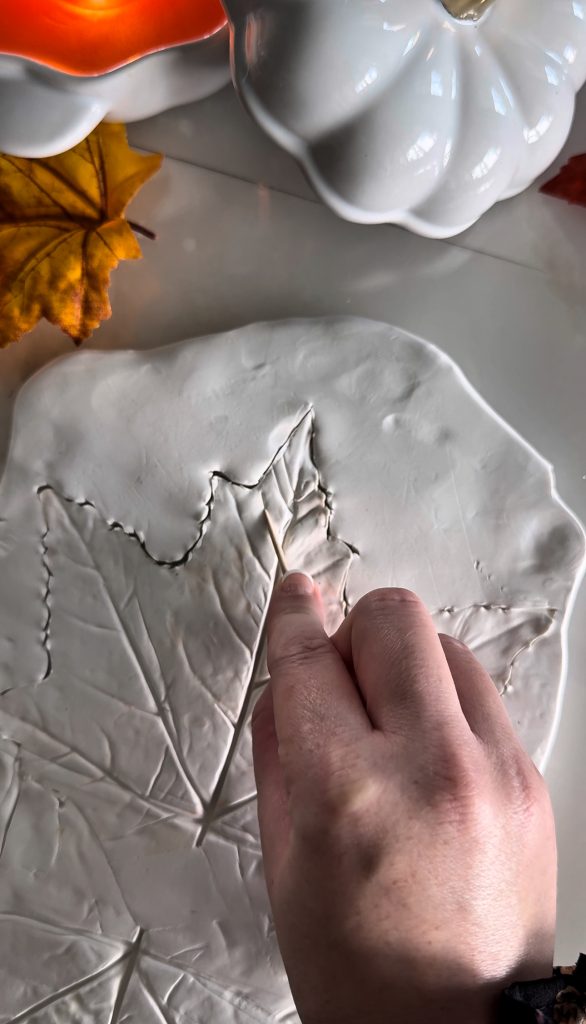
7. Use a toothpick to deepen the leaf veins or add additional leaf veins.
I kept my toothpick at an angle to avoid poking through the clay.
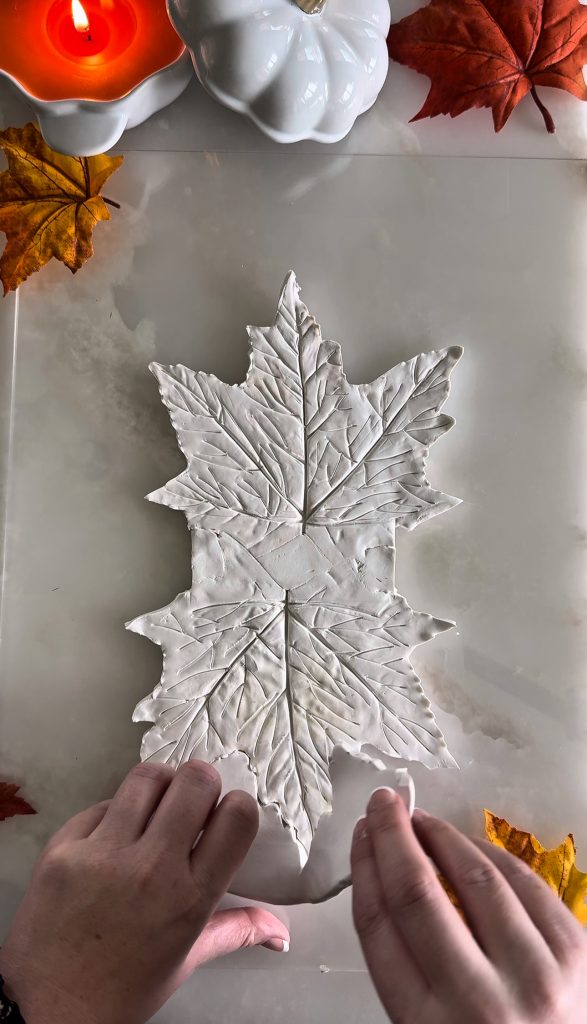
8. Then remove the excess clay from around the clay leaves.
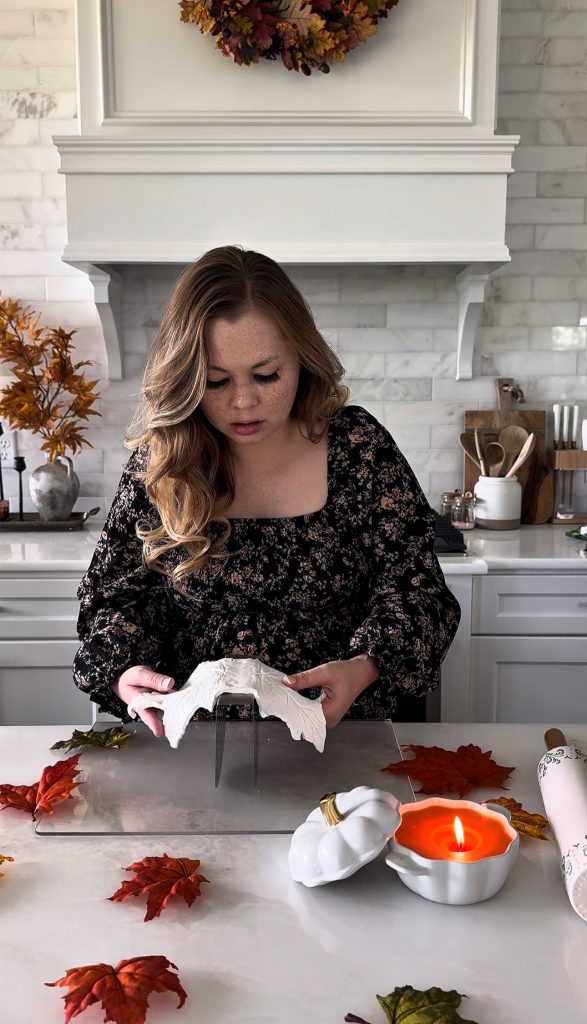
9. Gently slide your knife between the clay leaves and the cutting board to remove it from the cutting board.
10. Place the clay leaves on top of the upside-down stainless steel napkin holder, with the pretty side of the clay facing out.
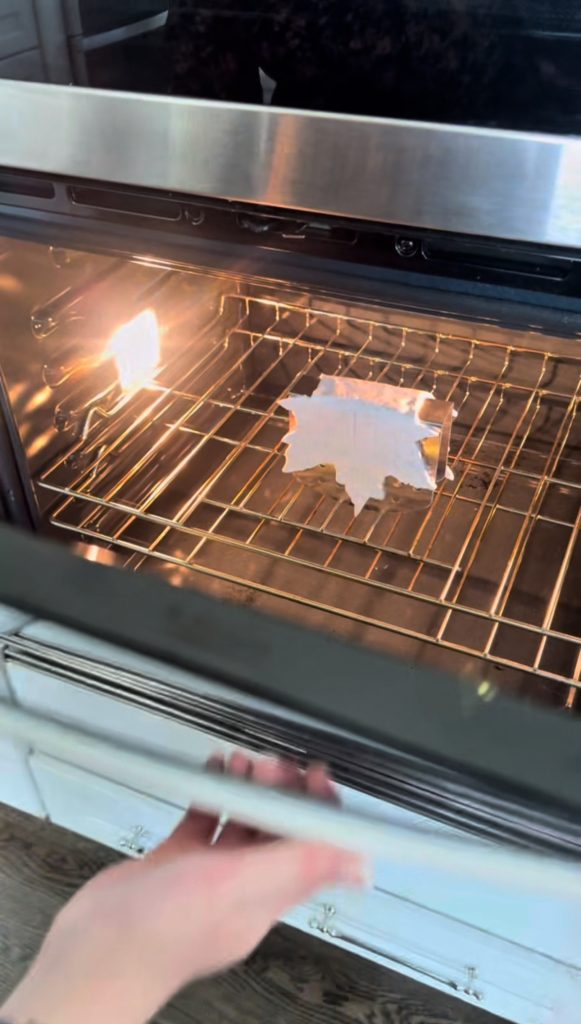
11. Bake at the very low temp on the clay’s packaging instructions.
12. Once thoroughly baked/dry/hardened, remove it from the oven and let it cool completely.
13. Remove the clay leaf napkin holder from the stainless steel napkin holder.
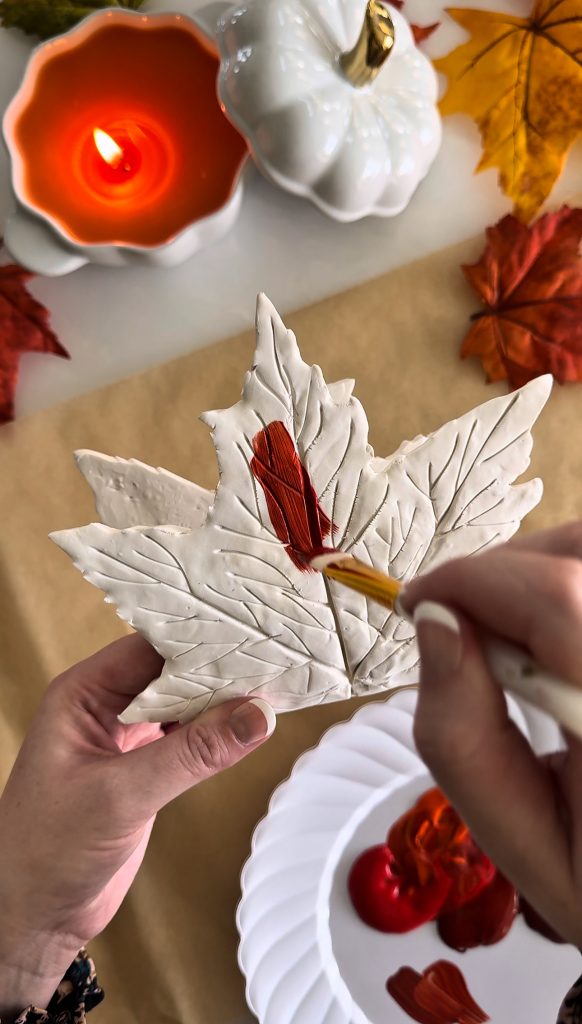
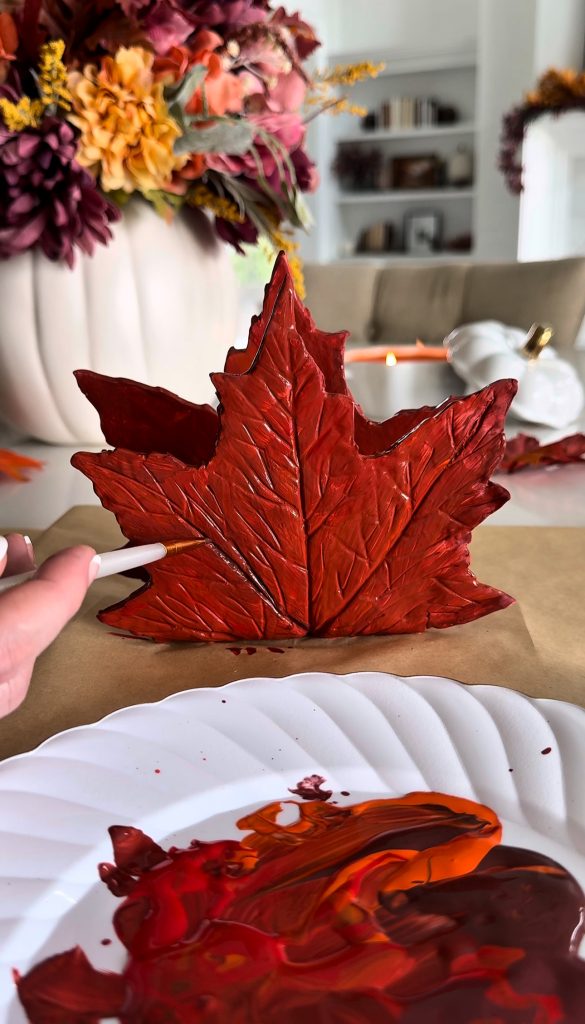
14. Pour and mix craft paint to create your desired color(s) and use a paintbrush to paint the inside and outside of the clay leaves. Let dry.
I also used a thin paintbrush to add a slightly darker shade of each color to the veins of the clay leaves.
12. Once dry, add resin according to the packaging instructions. Let dry/harden.
That’s it! Enjoy your new DIY Clay Leaf Napkin Holder!
Click to Shop:
If you are looking for more home decor inspiration, you can find many more home posts, inspiration, and tutorials by clicking here.
If you enjoyed this post, be sure to subscribe to my newsletter below so that you don’t miss out on another blissful post!
Want to connect on a more personal level!?
You can find me & Domestically Blissful on
Instagram, TikTok, Pinterest, Facebook, Twitter, & Bloglovin!
With love, Giusti
Whoever has the Son has life; whoever does not have the Son of God does not have life.
1 John 5:12 NIV